
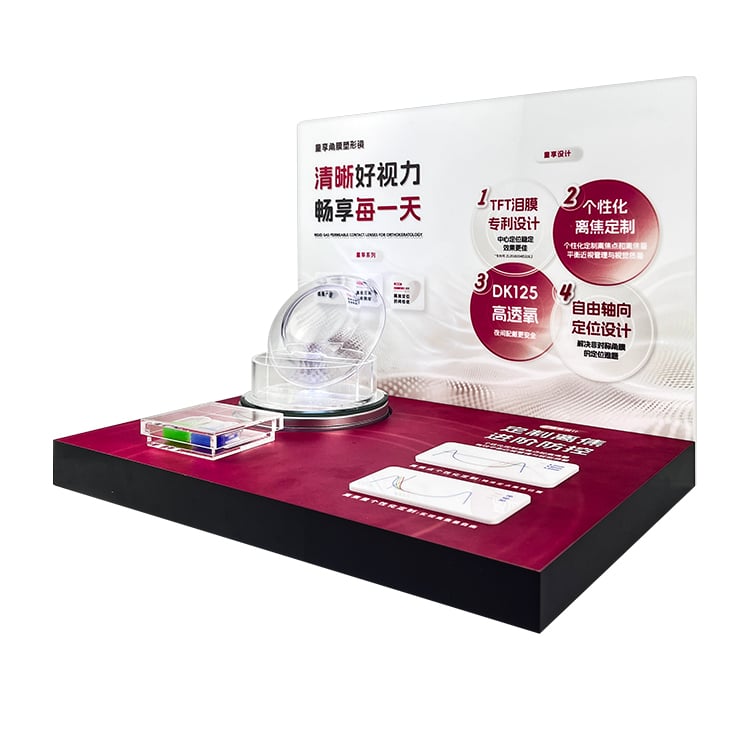


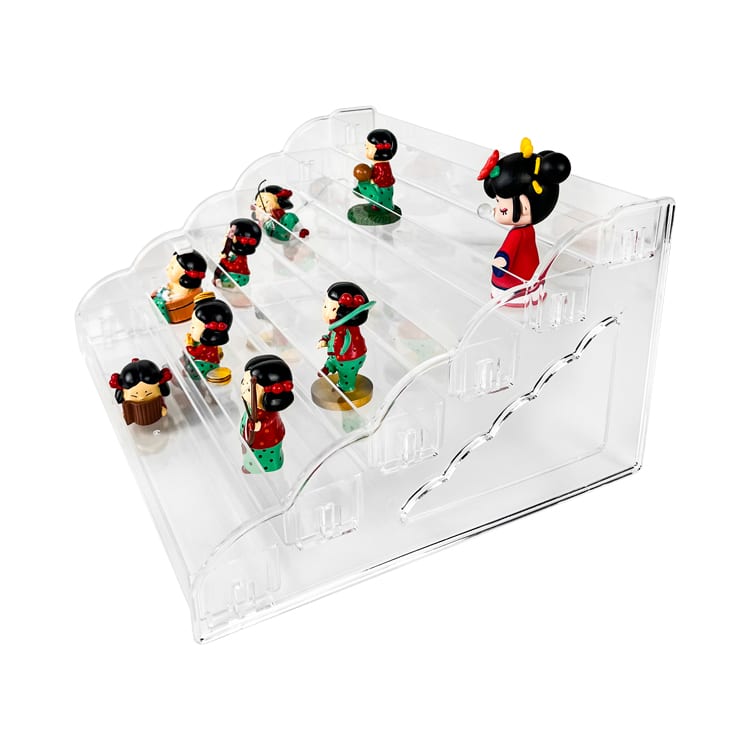
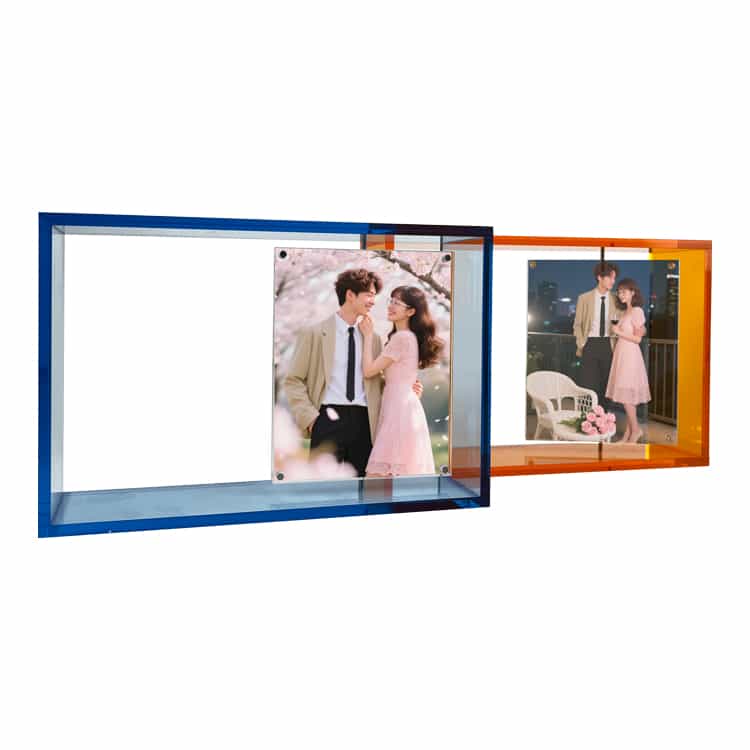

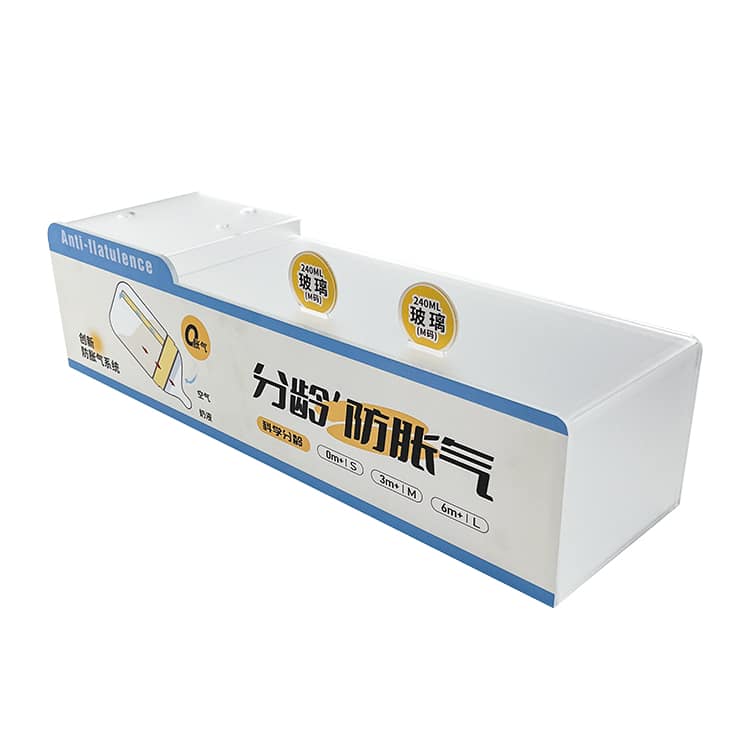
The right acrylic thickness for a display stand cannot be selected from the product name alone. It depends on what the panel does, what the display must hold, how far the panel spans between supports, how it will be formed and finished, and how the completed unit will be packed and shipped.
For a small label, divider or cover, the thickness discussion is different from a shelf, riser, product cradle or cabinet panel. A reliable specification therefore starts with the product, structure and retail task. The supplier can then review the sheet, support layout, fabrication route and sample requirements together.
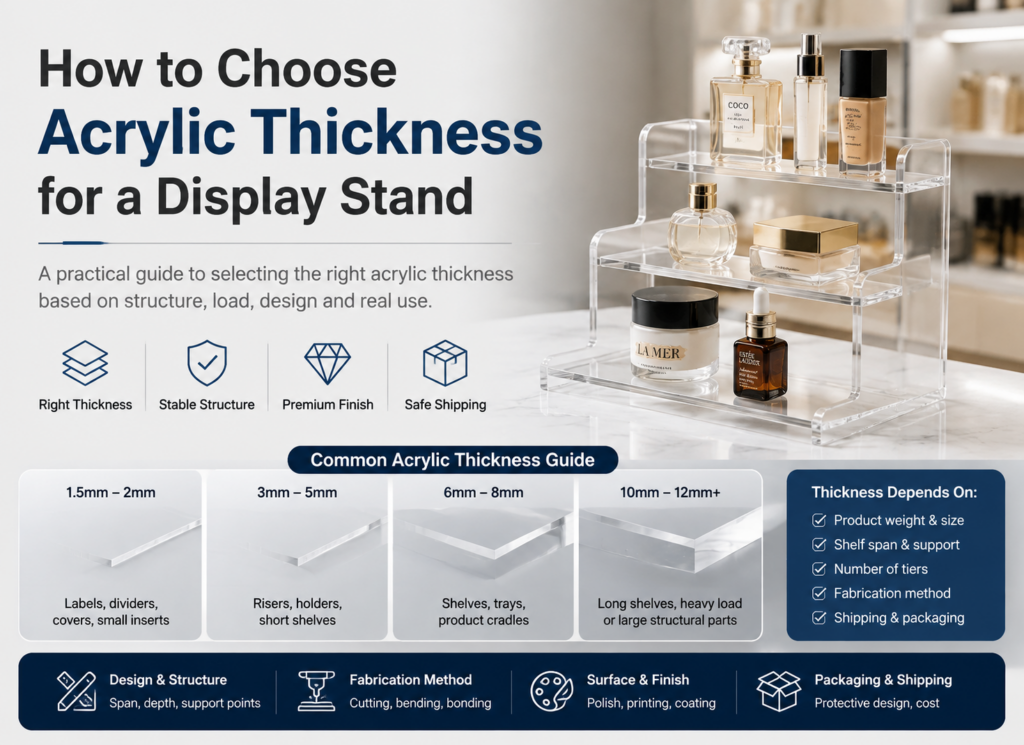
Thickness is a system decision, not a single number
Two displays with the same outside dimensions may need different sheet choices. One may hold lightweight accessories on short, well-supported panels. Another may have a long shelf, several tiers, a formed shape, a printed face, an LED module or a detachable shipping design.
The useful question is not “What thickness is standard?” It is:
What thickness and reinforcement make this approved display stable, practical to fabricate, easy to use and repeatable for the project?
YueYou’s current Custom Acrylic Display Stand Solutions page explains that the same visual design may require different thicknesses and reinforcement depending on product weight, shelf width, number of tiers, shipping method and target budget. That is the correct starting principle for a custom acrylic display stand.
1. Define the role of each acrylic part
Before discussing thickness, list every part and its job. A display may contain:
- labels and price cards;
- dividers and product separators;
- dust covers or protective panels;
- risers and stepped platforms;
- shelves or trays;
- product cradles and holders;
- side panels, back panels and cabinet doors;
- illuminated or printed brand panels;
- mounting plates and decorative elements.
The part’s role matters because a decorative insert does not face the same design question as a shelf that supports a product. YueYou’s Customization page illustrates 1.5 mm, 2 mm and 3 mm acrylic for light-duty elements such as labels, dividers, covers, small inserts and decorative panels. Those values are page-specific examples, not a specification for every acrylic display stand. Do not transfer them to a shelf or structural panel without an engineering review.
2. Record the product and the real load condition
Send the supplier more than a product name. Provide the product’s length, width, height, package dimensions, approximate weight and contact points. If several SKUs will share the unit, include the largest and most difficult-to-place product.
Also explain how the display will be used:
- Will customers pick products up themselves?
- Will staff refill the display several times a day?
- Will products be arranged in one row, multiple tiers or a sloped presentation?
- Will the display hold packaged products, loose products or a demonstration unit?
- Will the product be attached with a clip, magnet, tether, cradle or adhesive?
These details change the support and handling requirements. A product that is light but frequently removed may need a different holder and return path from a product that stays in one position. Confirm the final structure and acceptance method with representative products.
3. Review span, depth and support points
Sheet thickness should be considered together with the unsupported span, shelf depth and support layout. A longer panel or deeper shelf may need additional support or reinforcement, while a shorter panel with more support points may be designed differently.
Ask the supplier to review:
- the clear distance between supports;
- the depth of the shelf or platform;
- the location of drilled holes, slots and fasteners;
- whether the panel is flat, sloped, curved or thermoformed;
- whether the panel is part of a frame or working as a standalone plate;
- how products are placed, removed and returned;
- how the structure will be checked during sample approval.
Avoid specifying thickness in isolation. A number that looks adequate on a front elevation may not describe the actual span, edge condition or support connection. The drawing should show the support logic, not only the outside dimensions.
4. Separate light-duty, display-body and reinforced components
Use the following as a planning framework, not an industry standard:
| Component role | Typical planning question | What must be confirmed |
|---|---|---|
| Light-duty insert | Is the piece mainly a label, divider, cover, small insert or decorative panel? | Product contact, edge treatment, print, handling and visual finish. |
| Display-body panel | Does it form a side, back, door, riser, holder or short shelf? | Product geometry, support points, access, joining method and sample fit. |
| Long or deep shelf | Does it span between supports or carry several products? | Span, depth, support spacing, reinforcement, handling and acceptance test. |
| Formed or curved part | Does it need bending or thermoforming? | Forming route, bend geometry, edge finish, joining and repeatability. |
| Mixed-material structure | Can wood, MDF or metal supports reduce the acrylic structural demand? | Interface details, finish matching, assembly and shipping method. |
The goal is not to make every panel thicker. It is to assign each part an appropriate role and confirm the complete structure.
5. Consider the fabrication route
The way a part is cut, bent, polished, printed, bonded and assembled can influence the design review. YueYou publicly lists laser cutting, CNC routing or engraving, thermoforming, polishing, printing, bonding and assembly among its customization processes.
For an RFQ, ask:
- Is the part flat-cut, routed, drilled, bent or thermoformed?
- Are edges exposed to customers or hidden inside a frame?
- Will printing or engraving sit near a bend, slot or bonded joint?
- Does the design require a tight fit, detachable module or repeated assembly?
- Are LEDs, charging parts or security hardware reserved in the structure?
These questions help the supplier choose a fabrication path that matches the visual and functional requirements. Do not assume that a thickness suitable for a flat panel transfers unchanged to a formed or bonded part.
6. Balance transparency, finish and structural logic
Many buyers choose acrylic because the product remains visually open. Thickness should support that presentation without making the structure look accidental or overbuilt.
Review:
- edge visibility from the customer’s normal viewing angle;
- polished, buffed or otherwise specified edge treatment;
- the relationship between clear panels and colored or printed parts;
- whether a black, frosted or transparent finish changes the visual hierarchy;
- whether logos, graphics or LED light need a separate panel;
- how fingerprints, protective film and cleaning access will be handled.
The existing high-end acrylic display stand selection guide can support the broader material and finish discussion. Keep this article focused on how finish decisions interact with structure and thickness rather than repeating a general acrylic-versus-glass or acrylic-versus-plastic comparison.
7. Check electronics, hardware and mixed materials early
An acrylic display may include metal supports, wood or MDF bases, LED parts, magnets, hinges, clips, charging components, security tethers or printed panels. These interfaces should be planned before the thickness is locked.
Depending on the project, mixed materials may reduce the need for a single acrylic panel to perform every structural job. Metal supports may carry a connection, a wood or MDF base may create a heavier visual foundation, and a separate panel may reserve space for branding or electronics. The final combination must be confirmed for the product, assembly, finish, service access and shipment.
8. Include packaging and shipping in the decision
Packaging is not an afterthought for acrylic displays. Protective film, foam or EPE, internal separation, reinforced cartons, detachable parts and installation instructions can change how the display is designed and shipped.
Tell the supplier:
- whether the unit ships assembled or knock-down;
- which edges and surfaces need protection;
- whether detachable parts need individual separation;
- the destination and preferred transport mode;
- whether store labels or FBA-related preparation are required;
- how the unit will be unpacked and installed.
YueYou lists packaging and shipment planning within its customization workflow. Actual packaging, destination service, trade terms and transport responsibility should be confirmed for the project.
9. Prepare a complete thickness RFQ
Include these inputs in your quotation request:
| RFQ input | Example information to provide |
|---|---|
| Product | Product photos, drawings, packaging dimensions and contact points |
| Product condition | Loose item, boxed product, demo unit or tethered product |
| Weight | Approximate weight per item and number of items per panel or shelf |
| Structure | Countertop, wall-mounted, floor-standing, rotating, modular or mixed-material |
| Geometry | Flat, sloped, curved, bent, stepped, drilled or slotted parts |
| Support logic | Span, depth, support points, hardware and attachment method |
| Finish | Clear, colored, frosted, printed, engraved, polished or mixed finish |
| Electronics | LED, charging, audio, screen, sensor, button or security route, if applicable |
| Quantity | Sample quantity, expected order quantity and rollout context |
| Packaging | Assembled or knock-down, protection, carton and installation needs |
| Acceptance | Visual, dimensional, assembly, handling and packaging checks |
The more complete the input, the easier it is to separate a real engineering question from a simple visual preference.
10. Validate thickness and structure with a sample
Do not approve a thickness decision from a rendering alone. Use representative products and check the actual handling sequence.
Review whether:
- the display supports the intended products without obstructing their presentation;
- customers or staff can place, remove and return products without unwanted movement;
- the edge finish matches the approved visual direction;
- drilled holes, slots, clips, magnets and bonded joints fit as expected;
- labels, prints and logos remain aligned after assembly;
- lighting, charging and security routes have the required space;
- detachable parts can be packed, unpacked and installed correctly;
- the approved sample can be measured and used as the reference for repeat production.
Sample and production timing may vary with design complexity, material, electronics, quantity, approval rounds and packing. Confirm the schedule and acceptance method for the project rather than using a generic lead-time promise.
Common mistakes to avoid
Choosing thickness from a competitor’s product photo
A photo rarely shows the sheet grade, span, support points, reinforcement or product weight. Use competitor pages to understand market language, not to copy a specification without context.
Using one thickness for every part
Labels, dividers, shelves, risers and cabinet panels may have different jobs. A consistent visual language does not require identical structural treatment.
Ignoring the edge and joining method
Cutting, drilling, bending, polishing and bonding affect how the part looks and fits. Include those details in the engineering review.
Adding electronics after approval
Late additions such as charging ports, LEDs, buttons or security routes can consume space and change the panel or support logic. Reserve them before the sample is approved.
Treating packaging as separate from design
Large clear panels, bonded assemblies and detachable parts may need different protection and carton arrangements. Review packaging before the final structure is frozen.
When to request a custom acrylic display review
Ask for a project review when your display includes long shelves, multiple tiers, mixed product weights, unusual frame geometry, curved or thermoformed parts, printed branding, LED or charging modules, detachable shipping parts, or a repeat rollout across stores.
YueYou’s Custom Acrylic Display Stand Solutions page describes the public customization workflow from project input and material choice through engineering, process selection, packaging and shipment planning. For a broader material comparison, see Are Acrylic Display Stands Better Than Plastic?. To browse the current product range, visit Custom Acrylic Products.
Final takeaway
The best acrylic thickness is the one that fits the complete display system: product, span, support points, geometry, fabrication route, finish, hardware, electronics, packaging and acceptance method. Use thickness as an engineering input, not as an isolated number.
If you are preparing a custom display, contact YueYou with product dimensions, approximate weight, structure drawings or sketches, expected quantity, finish requirements and packaging needs. The final sheet choice and reinforcement should be confirmed for the project and approved sample.