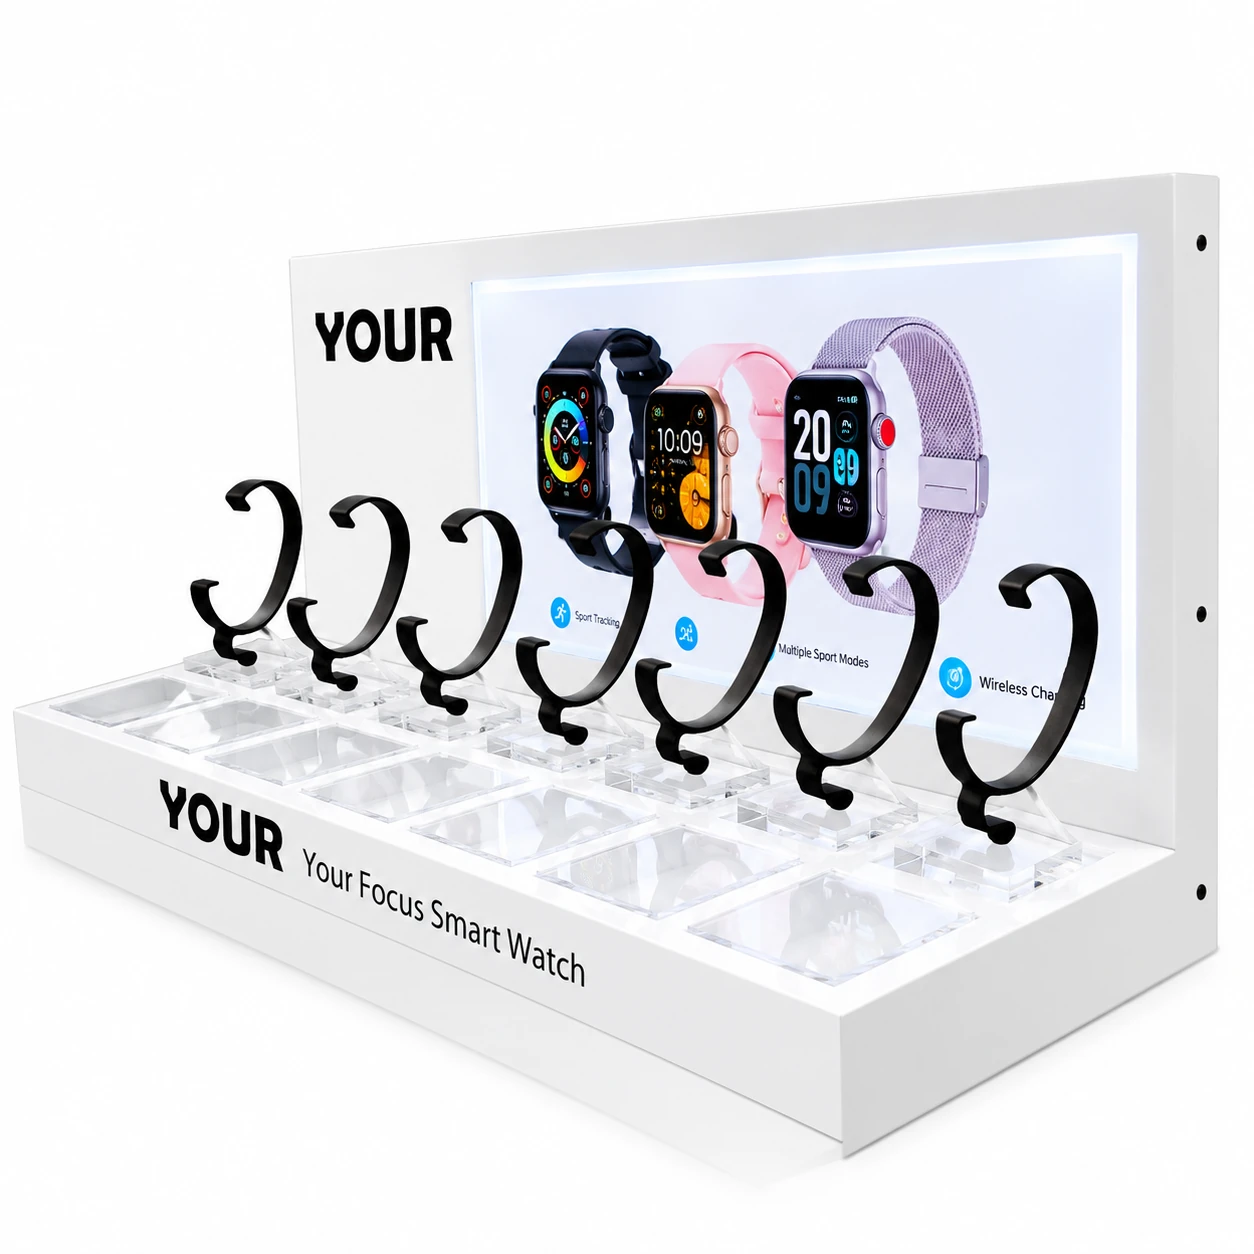
A beautiful cosmetic product deserves more than a plain stand.
Think about the last time you saw a new skincare collection. Maybe the bottles had soft colors, clean labels, and a shape that felt just right. Now picture those same products on a display that looks nothing like the brand. The colors clash. The logo is hard to see. The whole setup feels a bit off.
That’s a missed chance.
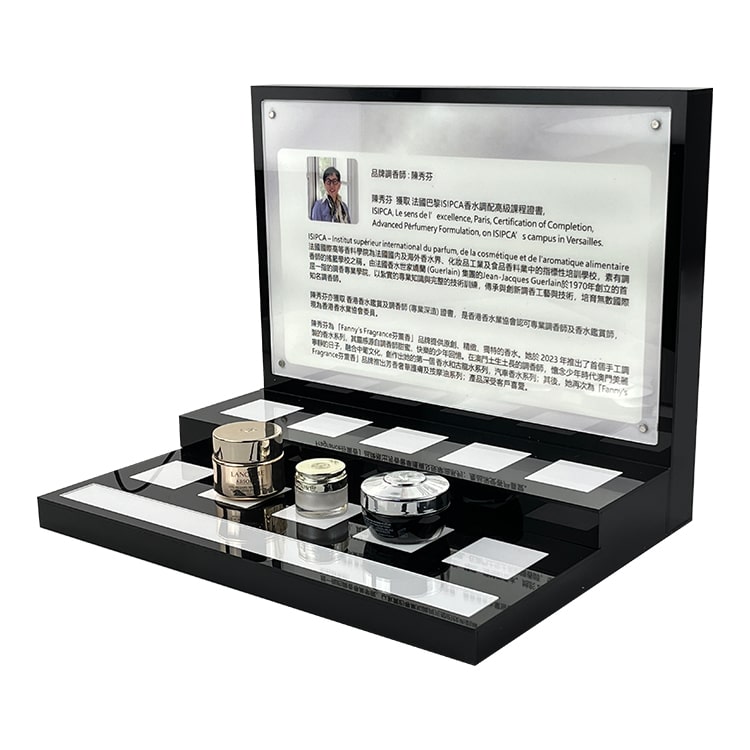
For beauty brands, a custom acrylic cosmetic display stand can do more than hold products. It can carry your logo, reflect your brand colors, and give each product a clear place in the overall design.
And here’s the good news: you don’t need a complex structure to make it work.
Sometimes, a well-placed logo on a clear acrylic panel is all it takes to create a polished look. Other projects may call for colored acrylic, printed graphics, raised letters, or a mix of finishes.
So, how do you customize an acrylic cosmetic display stand with your brand logo? Which printing method should you use? And what should you prepare before asking a manufacturer for a quote?
Let’s walk through the details.
Why Put Your Brand Logo on an Acrylic Cosmetic Display Stand?
Your logo is more than a name or symbol. It’s a visual link between your products and the brand behind them.
When you place that logo on a cosmetic display, you create another point of brand contact.
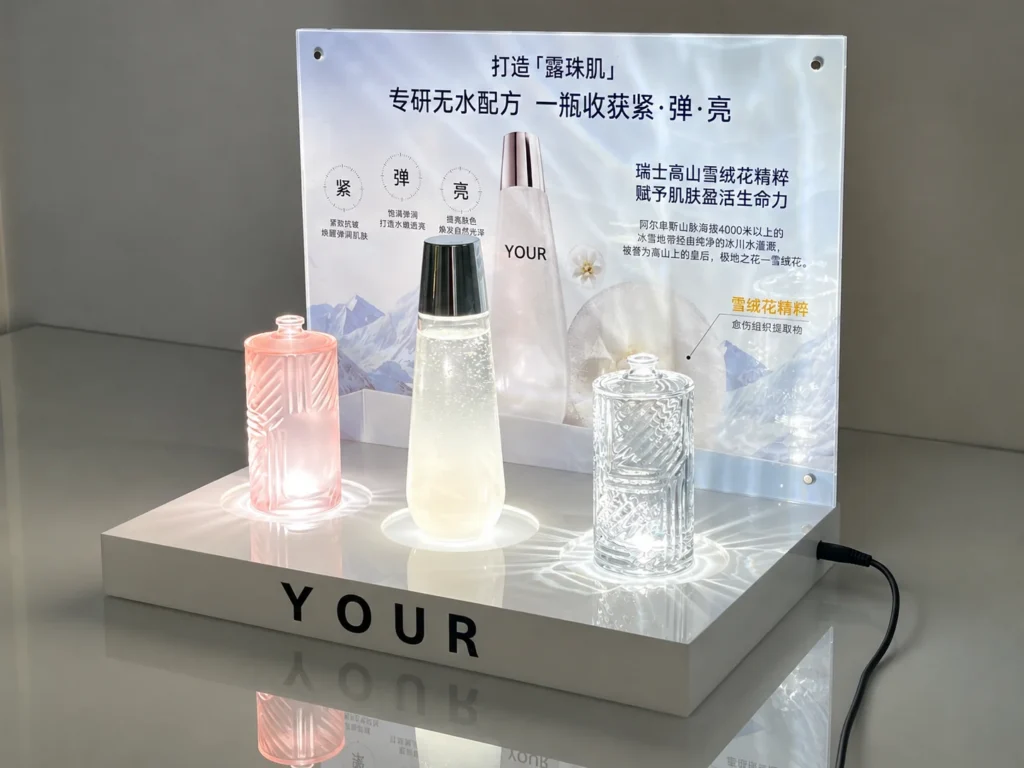
Picture a row of lipsticks arranged on a clear acrylic stand. The shades are easy to see, and the packaging looks neat. Now add a small, well-printed logo to the front panel.
The products stay the same. Yet the display feels more complete.
That’s the value of thoughtful branding.
A custom logo cosmetic display stand can help beauty brands:
- Present a consistent brand image across different product lines.
- Make product collections easier to recognize.
- Create a polished look for new launches and promotional events.
- Match the display with existing packaging and brand colors.
- Keep brand details visible without covering the products.
Of course, adding a logo won’t guarantee more sales. Product quality, pricing, packaging, and many other factors still matter.
But a good display can help your products tell a clearer visual story.
And for a brand that has spent months refining its packaging, that detail is worth considering.
Start With the Products, Not the Logo
Here’s something that often gets overlooked.
Before you decide where the logo should go, look at what the display needs to hold.
Are you presenting lipsticks, foundation bottles, skincare jars, or a full beauty collection?
Each product calls for a different structure.
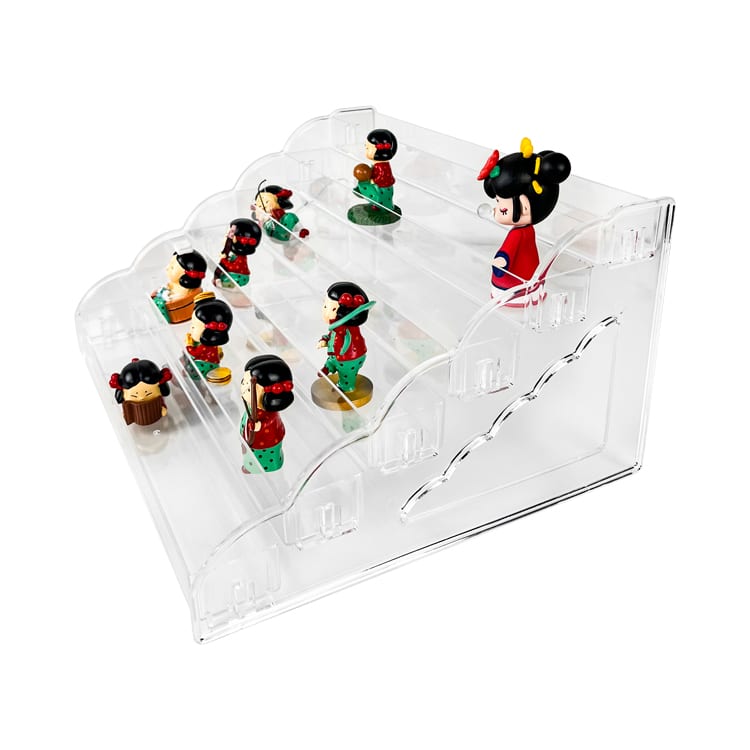
Lipstick displays often use drilled holes or individual holders. Skincare displays may need flat platforms or raised shelves. Makeup palettes may work better with angled supports that keep the front covers visible.
The product layout affects how much room remains for your logo.
For example, a small lipstick stand might have enough space for a logo on its front edge. A larger skincare display could include a separate back panel for both the logo and a short brand message.
Before developing the design, prepare these details:
- Product names and packaging dimensions.
- Weight of each product.
- Number of products and shades to display.
- Preferred overall display size.
- Logo artwork and brand colors.
- Expected order quantity.
- Any special features, such as removable holders or graphic panels.
A small detail can make a big difference here.
If your skincare bottle has a wide base, the stand must support it well. If the logo sits too close to the product, it may disappear once the bottles are in place.
Good design starts with real measurements, not guesswork.
If you’re still reviewing the main types of displays, our guide to cosmetic display stands explains common structures and their uses.
Which Logo Printing Method Works Best on Acrylic?
There isn’t one perfect printing method for every project.
The right choice depends on your logo design, acrylic color, order quantity, budget, and the look you want to achieve.
Let’s compare the main options.
Screen Printing: Simple, Clean, and Consistent
Screen printing is a common way to add logos to acrylic display stands.
The process uses a prepared screen to transfer ink onto the acrylic surface. Each color normally needs its own screen.
It’s often a good fit for logos with solid colors and simple shapes.
For example, a skincare brand with a white logo on a black acrylic base may find screen printing suitable. The result can look clean and sharp, without drawing too much attention away from the products.
Screen printing can be useful when:
- The logo uses one or a few solid colors.
- The design has clear lines and limited fine detail.
- Many displays need the same printed artwork.
- A consistent finish is important.
However, it may be less convenient for artwork with many colors, gradients, or frequent design changes.
Screen preparation also adds a setup step. For small orders, that can affect the cost per unit.
UV Printing: More Freedom for Color and Detail
What if your logo has several colors? Or perhaps you want to print a small pattern behind the products?
UV printing may be a better fit.
This digital process uses ultraviolet light to cure specially formulated ink during printing. It can reproduce detailed artwork and multicolor graphics on suitable acrylic surfaces.
For beauty brands, that opens up useful design options.
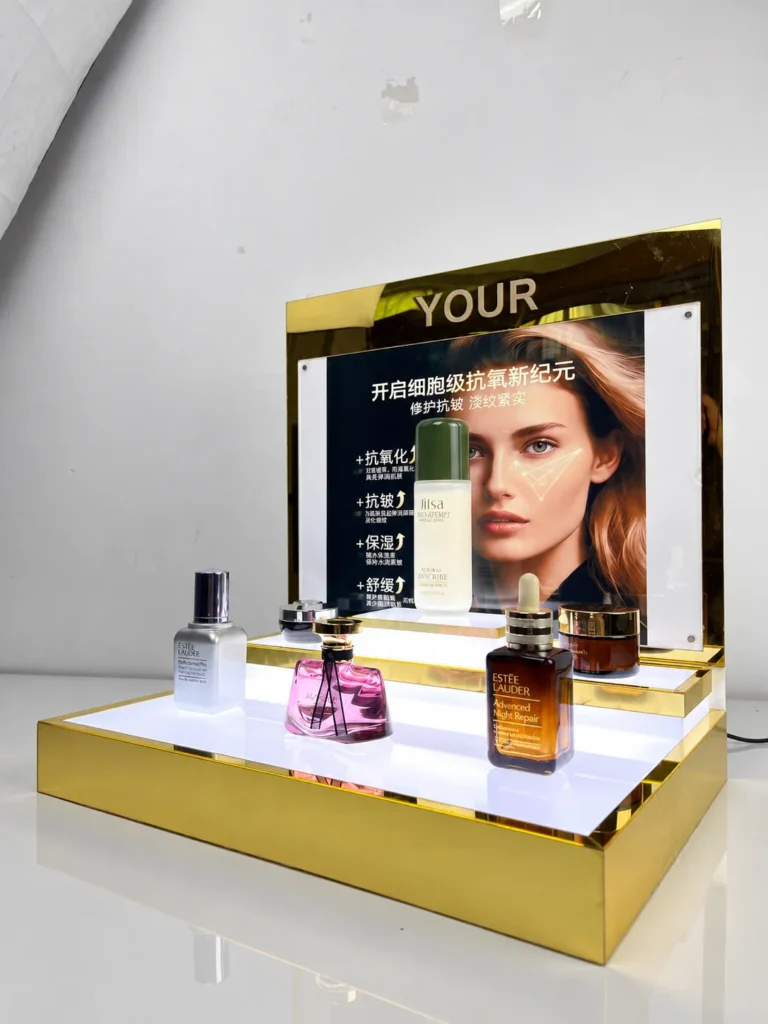
A soft pink gradient, a floral pattern, or a full-color logo may be possible without preparing a separate screen for each color.
UV printing is often considered for:
- Multicolor brand logos.
- Detailed graphics and patterns.
- Small production runs.
- Product launch artwork.
- Designs that may change between collections.
Still, don’t assume every printed detail will look the same on every acrylic color.
Transparent acrylic can affect how colors appear. White ink may be needed beneath some graphics to make them more visible.
It’s wise to request a printed sample before approving a large order.
Laser Engraving: A Subtle, Modern Look
Not every brand wants a bold printed logo.
Some prefer something quiet.
Laser engraving can create a frosted or etched-looking mark on suitable acrylic. The result can be attractive on clear panels, especially when the brand favors a simple visual style.
Imagine a transparent skincare display with a small engraved logo near the base.
No bright colors. No large graphic.
Just a subtle mark that becomes visible as light catches the surface.
Laser engraving may work well for:
- Simple logos.
- Minimalist brand designs.
- Clear acrylic panels.
- Decorative brand marks.
- Projects where printed ink is not desired.
There is one thing to keep in mind: engraving doesn’t reproduce a full-color logo.
Also, the appearance depends on the acrylic material, laser settings, and surface finish. A sample is the safest way to check the result.
Applied Vinyl and Raised Acrylic Letters
Printing and engraving aren’t the only ways to add a logo.
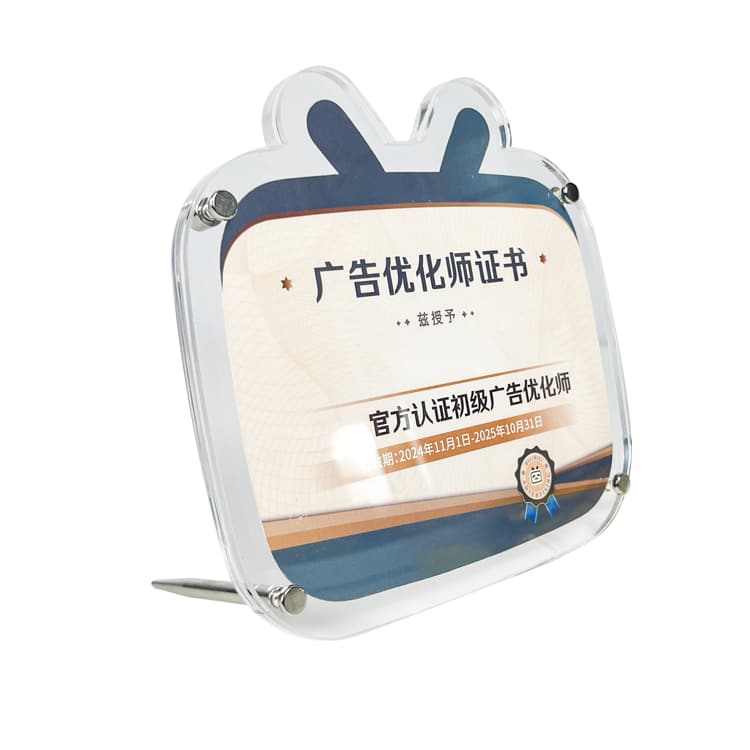
Vinyl graphics can be applied to suitable acrylic surfaces. They may be useful for short campaigns or artwork that needs to be replaced.
Raised acrylic letters offer a different effect. Instead of printing the logo flat on the surface, separate letters or shapes are attached to the display.
This can add depth and create a more noticeable brand feature.
However, raised parts also need careful design. They must be attached securely and should not interfere with packing, cleaning, or product placement.
For bulk orders, ask the manufacturer how the letters will be fixed and whether the attachment method is suitable for the intended use.
Where Should You Place the Logo?
A logo can look perfect in a design file and still be hard to see on the finished display.
Why?
Because products take up space.
A tall foundation bottle might hide a logo on the back panel. A row of lipsticks may block a small graphic placed too low. And a large logo across the front could compete with the product packaging.
The goal is simple: make the brand visible while keeping the products in focus.
Here are three common positions worth considering.
Front Panel
The front panel is a natural place for a logo.
It often works well for countertop lipstick displays, makeup organizers, and compact cosmetic stands.
A printed logo on the front can remain visible while the products sit above it.
Back Panel
A back panel offers more room for branding.
It can hold a logo, product collection name, short message, or decorative graphic.
This approach can work well for skincare displays and larger cosmetic collections.
Just check the height of the products. You don’t want a tall bottle covering the most important part of your artwork.
Side Panel or Base
For a subtle design, consider the side panel or base.
These areas can carry a small logo without making the display feel crowded.
They can also be useful when the front of the stand needs to remain clear for product labels or testers.
Here’s a simple test: place the products on a sample display, then view it from several normal angles.
Can you still read the logo?
If not, move it.
It’s much easier to change the artwork before production than after hundreds of stands have been made.
Clear, Black, White, or Pink? Let Your Brand Lead
Acrylic comes in more than one look.
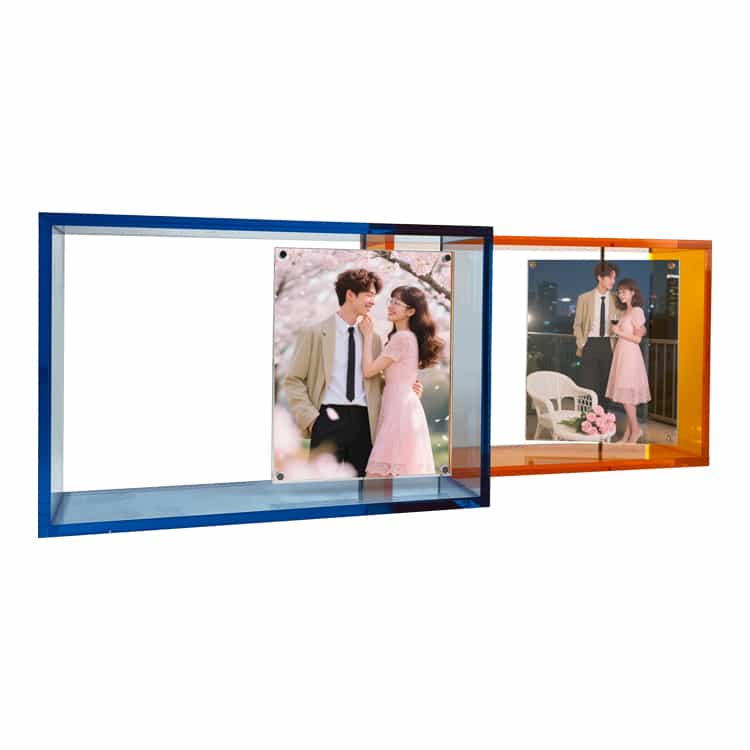
Clear acrylic is popular because it supports products without hiding their packaging. But colored and frosted materials can also create a strong visual effect.
The right choice depends on the brand.
A skincare line with white packaging may look clean on a clear or frosted acrylic stand.
A makeup brand with bold colors might prefer a black base with a contrasting logo.
A soft pink display could suit a playful beauty collection, while a white and gold design may create a more refined feel.
There’s no universal rule.
But there is a useful one: don’t let the display fight with the product.
If your packaging already has bright colors and detailed graphics, a simple stand may work better.
If the packaging is very plain, the display may have more room for a bold brand color.
You can also combine finishes.
For example, a clear acrylic product holder can sit on a colored base. The products remain easy to see, while the base provides space for your logo.
This gives you two benefits in one design: product visibility and brand recognition.
What About Logo Size, Color, and Finish?
A logo doesn’t need to be huge to make an impression.
In fact, a large logo can sometimes make a cosmetic display feel busy.
Start by considering three things: size, contrast, and viewing distance.
Logo Size
The logo should be large enough to read but small enough to leave room for the products.
There is no fixed size that works for every stand.
A compact lipstick display and a wide skincare display will need different proportions.
Ask your designer to show the logo at actual size on the display drawing.
Color Contrast
A white logo may be difficult to see against a pale background. A dark logo on clear acrylic may stand out more, depending on what sits behind it.
Transparent surfaces make contrast a little tricky because the background changes.
For this reason, it’s helpful to test the logo with the real product packaging.
Surface Finish
Glossy acrylic creates crisp reflections and a polished look.
Frosted acrylic has a softer appearance and may reduce some visual distractions.
Both can work well, but they create different effects.
Your manufacturer should confirm whether the chosen printing or engraving process is suitable for the finish.
What Logo Files Should You Send to the Manufacturer?
You don’t need to be a graphic designer to order a custom acrylic display.
But sending the right artwork can save time.
Manufacturers often prefer vector files because they can be resized without losing sharpness.
Common formats include:
- AI (Adobe Illustrator)
- EPS
- SVG
- Vector PDF
A high-resolution PNG may be useful for reference, but it may not provide the editable paths needed for certain production methods.
If your logo contains text, converting the fonts to outlines can help avoid font substitution issues.
For color accuracy, share your brand color references, such as Pantone codes where available.
Keep in mind that screen colors and printed colors are not always identical.
The final appearance can change with the ink, acrylic color, surface finish, and lighting.
For projects where color is critical, request a physical color or print sample.
One more thing: if your logo uses very thin lines, tiny letters, or delicate details, ask the manufacturer to review its printability.
Some details may need small adjustments before production.
That’s normal. Better to catch them early.
How Does the Custom Manufacturing Process Work?
Once the products, logo, and basic design are clear, the project can move toward production.
The exact workflow varies by manufacturer, but a typical custom acrylic cosmetic display project follows several stages.
1. Share Your Requirements
Send the product dimensions, reference images, logo files, preferred colors, display size, and estimated quantity.
The more complete the information, the easier it is to review the project.
2. Review the Design
The manufacturer may prepare or review a technical drawing or 3D model.
This stage helps confirm the structure, product positions, logo placement, and overall proportions.
Check the details carefully.
Does the display hold the right number of products? Is the logo visible? Can the stand fit the planned space?
3. Confirm Materials and Branding Methods
Choose the acrylic color, thickness, surface finish, and logo process.
For example, you might use clear acrylic for the product holders, white acrylic for the base, and screen printing for the logo.
The manufacturer should review whether the proposed materials and processes suit the design.
4. Make a Prototype
For custom projects, a physical sample can be valuable.
It allows you to check the fit, appearance, stability, and print quality before bulk production.
A sample may also reveal small issues that are hard to spot in a drawing.
Perhaps the logo sits too low. Maybe the product holes need a little more clearance.
Those are exactly the kinds of details worth fixing early.
5. Approve the Final Sample
Once the sample meets the agreed requirements, confirm the approved version in writing.
Record the key details, including dimensions, colors, artwork, materials, and finishes.
This approved sample can serve as a reference during production and quality inspection.
6. Begin Bulk Production and Inspection
After approval, the manufacturer can proceed with the agreed production quantity.
Before shipment, the finished displays should be checked against the approved specifications.
For branded displays, logo position, print appearance, surface condition, and packaging deserve particular attention.
How Much Does Logo Customization Cost?
That’s a fair question.
The answer depends on more than the size of your logo.
A simple one-color logo may need less printing work than a large, multicolor graphic. A raised acrylic logo requires extra parts and assembly. Engraving costs depend on factors such as the design and processing time.
Order quantity also matters.
For example, screen printing may involve setup costs that are spread across the production quantity. UV printing has a different cost structure, so the more economical method can vary from one project to another.
Other factors that may affect the quotation include:
- Overall display dimensions.
- Acrylic thickness and material type.
- Number of printed surfaces.
- Logo colors and artwork complexity.
- Additional decorative parts.
- Prototype requirements.
- Order quantity.
- Protective packaging and shipping method.
A lower unit price doesn’t always mean a lower total project cost.
A display with poor packaging, weak joints, or inconsistent printing may create extra work later.
When comparing quotations, check what’s included. Ask whether sampling, printing setup, packaging, and shipping are listed separately.
A clear quote helps you compare suppliers fairly.
Five Logo Customization Mistakes Worth Avoiding
Even a simple logo can cause problems when important details are missed.
Here are five common risks to watch for.
1. Making the Logo Too Large
A large logo may cover products or make the display look crowded.
Keep the product as the main feature.
2. Choosing a Logo Color Without Testing It
A logo that looks clear on a computer screen may have poor contrast on transparent acrylic.
Check it against the real product packaging.
3. Sending Low-Quality Artwork
Small or blurry files can lead to poor print results.
Use vector artwork when possible.
4. Skipping the Physical Sample
A drawing can show dimensions, but it may not reveal every detail of the finished display.
For new or complex designs, a prototype can help reduce uncertainty.
5. Forgetting About Shipping
Acrylic surfaces can scratch, and attached parts may be damaged if the packaging is not suitable.
Discuss protective film, cushioning, and carton design before the order is packed.
A beautiful display should arrive looking beautiful, too.
What Should B2B Buyers Check Before Placing a Bulk Order?
If you’re buying custom cosmetic display stands for a beauty brand, distributor, or promotional project, the design is only one part of the decision.
You also need to know whether the supplier can produce the approved design consistently.
Start with a few practical questions.
Can the manufacturer work from your existing drawings? Can it review product samples? Which logo methods are available for your chosen acrylic material?
Ask how the supplier checks print quality and dimensions.
For example, the inspection plan may include checking logo placement, visible surface defects, product fit, and the stability of the assembled stand.
Packaging matters as well.
If the display has several acrylic parts, ask whether it will ship assembled or flat-packed. Each method has trade-offs in freight space, handling, and assembly work.
And don’t forget lead time.
Sampling and bulk production should be discussed separately. A new design may require revisions before the final sample is approved.
For larger orders, it also helps to agree on how design changes will be handled after approval.
Clear communication may not sound exciting, but it can prevent expensive surprises.
Ready to Put Your Brand on Display?
A custom acrylic cosmetic display stand doesn’t need to be complicated.
It needs to fit your products, support your brand image, and work well in real use.
The logo is an important part of that design, but it’s not the whole story.
The best result comes from combining the right structure, acrylic material, logo method, and product layout.
A simple printed logo may be perfect for one collection. Another may benefit from engraved lettering, a colored base, or a raised brand sign.
What matters is that the finished display feels like it belongs to your brand.
If you’re planning a custom project, YueYou Display can be contacted to discuss your design requirements and request a manufacturing quotation.
Share your product dimensions, logo artwork, preferred display style, and estimated order quantity.
Contact YueYou Display for a Custom Acrylic Cosmetic Display Quote
Frequently Asked Questions
1. Can I add my own brand logo to an acrylic cosmetic display stand?
Yes. Custom acrylic cosmetic display stands can feature logos through screen printing, UV printing, laser engraving, applied graphics, or raised lettering. The right method depends on your logo design, acrylic material, and desired appearance.
2. What is the best printing method for a custom logo acrylic cosmetic display stand?
Screen printing often suits simple, solid-color logos, while UV printing can handle detailed multicolor graphics. Laser engraving creates a more subtle mark. A physical sample can help confirm which finish works best for your brand.
3. What is the minimum order quantity for custom branded cosmetic display stands?
The minimum order quantity depends on the manufacturer, display structure, materials, and branding process. Ask for a quotation based on your expected quantity rather than assuming that one MOQ applies to every custom design.
4. Can a custom acrylic lipstick display stand match my brand colors?
Yes. Acrylic is available in various colors and finishes, and suitable printing methods can add branded graphics. Share your color references and request a sample when a close color match is important.
5. What information do I need to request an OEM acrylic cosmetic display stand quotation?
Prepare your product dimensions, product weight, display quantity, logo artwork, preferred colors, reference images, estimated order volume, and any special requirements. Clear specifications help the manufacturer review feasibility and prepare a more accurate quotation.