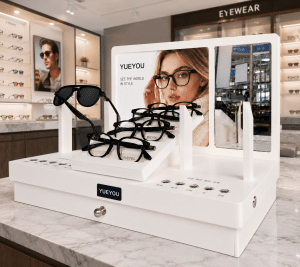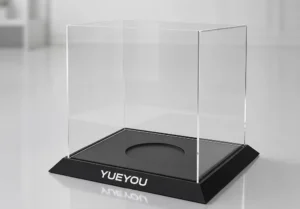
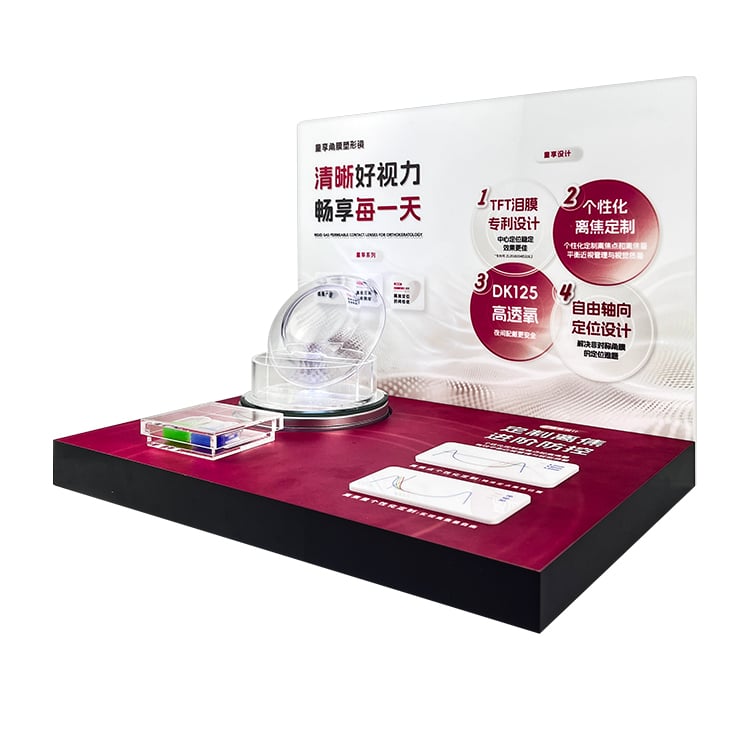
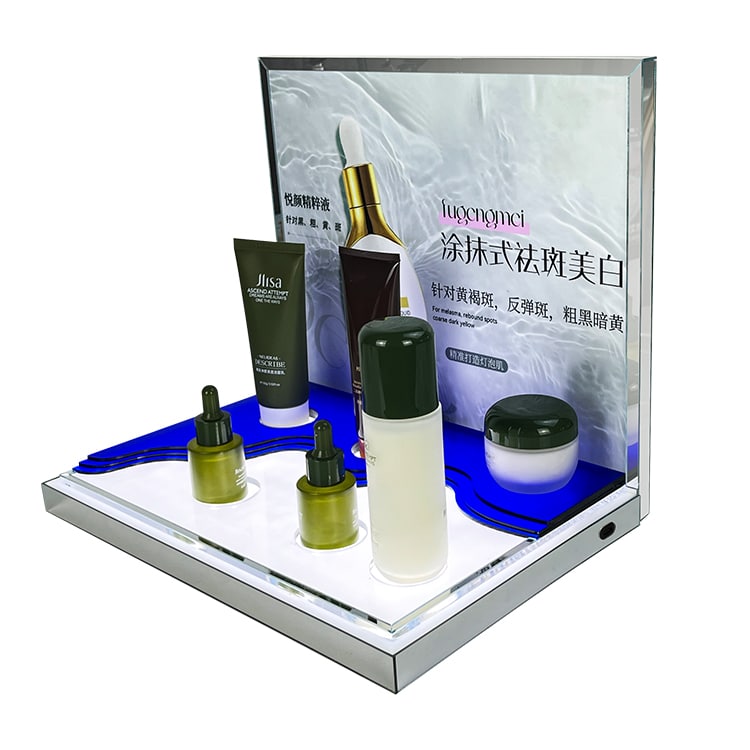
Most cosmetic display stands use acrylic, metal, wood or MDF, and sometimes cardboard. The right choice is not the material that looks most impressive in isolation. It is the material—and often the material combination—that fits the product, the retail task, the brand presentation, and the way the fixture must move through sampling, packing, installation, replenishment, and rollout.
For example, a small countertop unit that needs to make lip colors easy to compare has a different brief from a permanent fragrance counter, a skincare tester station, or a short promotional display for a product launch. Start with the job the display must do. Then select the material, finish, structure, and packing plan around that job.
Start with the retail task, not a favorite material
Buyers often begin an RFQ with a material preference: “We want an acrylic stand” or “We need a metal fixture.” That can be useful, but it is not yet a complete specification. A better starting point is the shopper interaction and merchandising task.
| Retail task | Questions to settle before choosing a material | Material direction to evaluate |
|---|---|---|
| Show shades, bottles, or packaging clearly | What must remain visible? Will shoppers pick up, compare, or test the products? | Acrylic or an acrylic-led mixed-material structure |
| Hold a larger grouped assortment | How many SKUs, testers, and replenishment items need their own positions? | Metal-supported, acrylic, wood/MDF, or hybrid construction depending on the layout |
| Create a warm, furniture-like counter environment | Is the fixture part of a permanent store concept or a branded seasonal zone? | Wood/MDF or a wood-and-acrylic combination |
| Support a limited promotional campaign | How long will the unit be used, how is it shipped, and who assembles it? | Cardboard or another project-specific lightweight option, after the use case is defined |
| Roll out to several stores | What must be consistent across locations, and what packing or installation constraints apply? | A material and structure combination reviewed together with the rollout plan |
This table is a planning starting point, not a material standard. The final choice should also account for product dimensions, fixture geometry, the required finish, expected handling, approved sample, and inspection method.
Acrylic: when product visibility drives the display
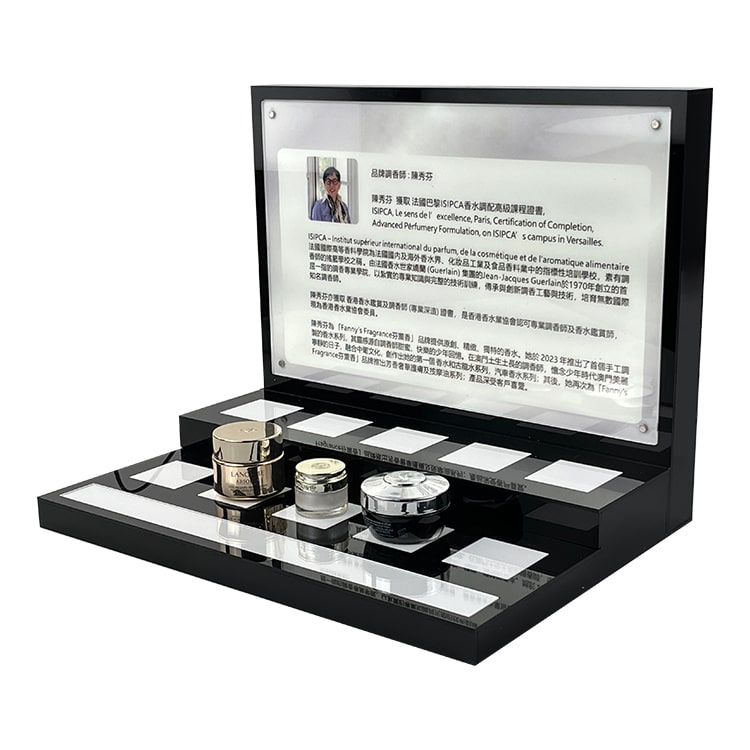
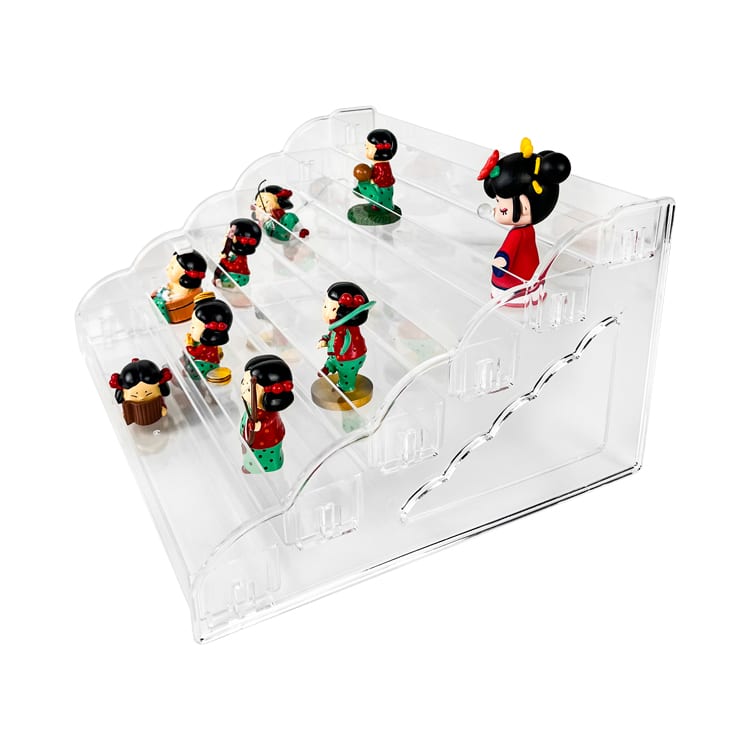
Acrylic is commonly evaluated for cosmetic display stands when the product itself needs to stay visually prominent. It can suit risers, trays, tiered units, countertop stands, branded holders, and structures that need to combine product presentation with printed or engraved brand elements.
The important procurement question is not simply “acrylic or not?” It is which sheet type, color, surface treatment, and thickness fit the design. Those choices should be reviewed after the load, structure, finish, and fabrication method are known. A clear acrylic component, for example, may be only one part of a larger fixture rather than the whole display.
For cosmetic projects, clarify these points early:
- Which products must be visible from the shopper’s normal viewing angle?
- Does the display need individual wells, trays, risers, hooks, or tester positions?
- Are printed color blocks, logos, graphics, or product information part of the fixture?
- Will the unit sit on a counter, a shelf, a gondola, or a dedicated retail fixture?
- What should be protected during packing, delivery, setup, and daily replenishment?
YueYou publicly lists acrylic and custom display dimensions, structures, colors, logos, surface effects, and print or engraving options among its cosmetic-display directions. The exact material and finish still need to be confirmed for the individual project rather than treated as a standard specification.
Metal: when the structure needs a different role
Metal is often considered when the display brief calls for a different structural or visual role from a clear acrylic component. It may be used for a base, frame, support, divider, or a visible branded element in a mixed-material fixture.
For a buyer, the decision is less about declaring metal “better” than acrylic. It is about defining where metal belongs in the structure and what it must support. A product brief should state the required product arrangement, the access shoppers need, the visual relationship between the frame and the cosmetics, and the finish the brand expects to approve.
Mixed-material planning is especially useful when one element must present product clearly while another must create the fixture’s overall silhouette. Before committing, ask for the structural proposal, surface-finish sample, assembly approach, and packing method to be reviewed together. A material choice that looks correct in a render can create avoidable problems if it has not been tested against the final geometry and shipment plan.
Wood or MDF: when the display is part of the store environment
Wood or MDF may be evaluated for cosmetic fixtures that need a more furniture-like visual language, larger blocks of branded color, shelving, plinths, or a warmer contrast to glossy product packaging. They can also be combined with acrylic, metal, graphics, or lighting depending on the retail concept.
The questions are practical: Which surfaces face customers? Which edges are exposed? Where will products be handled or replenished? What are the store conditions? How will the unit be assembled and packed? Do not assume that a material named in a mood board is automatically appropriate for every counter, fixture size, or rollout quantity.
If wood or MDF is under consideration, include visual references for the desired texture and color, identify any required printed or branded areas, and make the intended fixture life clear. That gives the supplier a meaningful basis for reviewing the structure and finish instead of guessing from a general description such as “premium wood display.”
Cardboard: when the project is campaign-led
Cardboard display systems are often part of the comparison when a project is tied to a limited campaign, a retailer-specific promotion, or a temporary launch. They should be specified around the actual operating plan: the product arrangement, expected display period, delivery route, assembly responsibility, graphics, replenishment, and the number of locations.
For a brand team comparing cardboard with rigid materials, the useful question is not simply which option has the lowest initial cost. Ask what needs to stay consistent across the campaign, what needs to survive the delivery and setup process, and whether the display must support tester interaction or repeated product handling. This turns a generic material comparison into a project decision.
Use a material-selection brief before requesting prices
Price cannot be assessed responsibly from a material name alone. The same material can lead to very different project requirements once size, layout, quantity, printing, finish, structural complexity, electronics, packing, and delivery terms are added.
Before asking for a quote, prepare a short material-selection brief with the following inputs:
- Products and SKUs — Product dimensions, bottle or pack shapes, tester needs, and which products must be shown together.
- Display task — New-product launch, shade comparison, tester interaction, counter presence, retail shelving, or a larger store fixture.
- Retail setting — Countertop, wall, floor, shop-in-shop, exhibition, pop-up, or multi-store rollout.
- Visual direction — Brand colors, finish references, transparent versus opaque areas, graphic files, logo treatment, and sample references.
- Structure and use — Product access, replenishment flow, removable parts, assembly expectations, and any security or smart-function requirements.
- Packing and delivery — Destination, individual or consolidated packing, knock-down requirements, store labels, installation instructions, and delivery terms to be confirmed.
This is usually more useful than asking a supplier to recommend “the best material” with no context. It also creates a clearer path to a prototype: material samples can be reviewed alongside product positions, graphics, assembly, and packing rather than approved as isolated swatches.
Avoid three common material-selection mistakes
1. Choosing from a photo alone
A photo can communicate a brand mood, but it rarely defines the material build. It may not show the fixture’s back, base, joins, product supports, print treatment, or the parts a store team handles. Use visual references, but pair them with dimensions, product information, and a use case.
2. Treating one material as the whole solution
A cosmetic display can use different materials for different jobs. The product-facing area, structural support, graphic panel, base, and branded accent do not always need the same material. Ask the supplier to explain the role of each component instead of forcing a single-material answer before the layout is understood.
3. Separating material selection from packaging and rollout
The fixture is not finished when it looks correct in a render. Product geometry, surface protection, knock-down design, packing, labels, destination, and store setup can all affect the final approach. Packaging should be discussed when the material and structure are being reviewed, not after the display has already been approved.
Turning the decision into a supplier-ready RFQ
Once the retail task and material direction are clear, the next step is not to promise a fixed MOQ, price, sample date, or production date. Those points depend on the design, material, process, quantity, approvals, packing, and destination.
Instead, send the material-selection brief with product photos or dimensions, desired quantities, brand files, reference images, rollout timing, and destination details. A supplier can then review whether the proposed material combination, fabrication route, sample process, and packing plan fit the project.
For a project that needs a custom combination of acrylic, metal, wood, graphics, or other project-specific components, review the customization process alongside the retail brief. YueYou lists OEM, ODM, and JDM project services, as well as project-dependent options for material, structure, surface finish, printing, packing, and display elements.
Choose materials around the display work that matters
The material for a cosmetic display stand should make the retail job easier to execute. Acrylic may be the right starting point when product visibility matters. Metal may have a defined support or frame role. Wood or MDF may fit a more furniture-led environment. Cardboard may be part of a campaign-specific comparison. In many cases, the best answer is a reviewed combination rather than a single material.
If you are preparing a fixture for a cosmetics counter, product launch, pop-up, or multi-store rollout, explore YueYou’s custom cosmetic display solutions and share the project requirements for a material, structure, finish, sample, packing, and delivery discussion tailored to the project.