A smart 3C display stand should be planned as a product-experience system, not as a shelf with electronics added at the end. The display has to present the device clearly, support the intended hands-on or listening demo, route power cleanly, protect the product, and remain serviceable after installation.
The correct module set depends on the device and the retail task. An earphone display may need a try-me audio flow and charging. A gaming accessory display may need clear cable exits and organized product groups. A connected device may need an instruction panel, screen, NFC zone or security tether. These decisions should be made together before the structure and sample are approved.
Begin with the demonstration objective
Start by defining what the customer should understand within the first few seconds. The objective may be a quick visual comparison, a hands-on test, an audio demonstration, a charging demonstration, or a guided product explanation.
This objective sets the display logic:
- a visual comparison needs clear sight lines and separation between products;
- a hands-on demo needs comfortable reach and a controlled return path;
- an audio demo needs a pairing, listening and reset sequence;
- a charging demo needs a visible product position with concealed power routing;
- a guided explanation may need graphics, a small screen, NFC or an instruction panel.
Avoid installing every available feature. A module earns its space when it supports the product story and can be operated, maintained and tested in the intended store environment.
Fit the display to the device
Measure the device and its accessories before selecting the holder. Record the product body, buttons, ports, cable position, charging case, ear cups, headband, controller grips, packaging dimensions and any surfaces that customers touch.
The holder should keep the product visible without covering the control area or making the customer fight the tether. Contour-matched pockets, cradles, clips, magnets or soft inserts may be suitable depending on the device and the required handling sequence. The final fit must be checked with representative products rather than inferred from a product photograph.
For a mixed assortment, include the largest and smallest products in the sample review. A structure designed around one average device may not provide enough clearance for a larger headset or a different charging case.
Plan charging and cable routing before fabrication
Charging becomes a design problem when the power source, cable path and service access are hidden inside the fixture. Reserve the route before finalizing panel positions, supports and branding elements.
The design review should establish the product port or charging-contact location, power-source position, connector, cable exit, bend path, service access, cable separation, product removal method and packing method.
YueYou’s 3C solution page describes charge-ready routing with hidden channels, clean exits and service access. Its current page also lists USB-C routing as an option. These statements describe project directions, not a standard electrical package. Confirm the voltage, connector, cable length, enclosure, destination requirements and testing method for the specific project.
Build the audio demo around a repeatable flow
Headphones and wireless earphones often need a customer to hear the product, not only see it. A useful audio display therefore needs a controlled sequence for connection, listening, return and reset.
The physical structure should keep the device easy to pick up while protecting the cable, charging contact and security route. A small control area, pairing instruction or demonstration button may be needed depending on the product. Staff should be able to restore the display to its ready state without removing the entire unit.
YueYou’s Customization page lists Bluetooth audio playback, buttons, sensors and cable channels as project options. Its wireless earphone display rack provides a relevant product direction, but the page title does not establish a universal pairing method, audio specification or operating result. Those details must be confirmed with the product owner and tested in the approved sample.
Use LED and graphics to clarify the product story
LED lighting should guide attention without making the product difficult to inspect. Consider the frame position, glossy-surface reflections, label readability, viewing angle and the relationship between edge lighting, a lit base, a printed panel and the brand color.
Graphics and electronics work best when they communicate one clear signal. A hero product may need a logo panel and a small instruction area. A range display may need category labels and consistent visual blocks. An NFC zone or screen should have a defined customer action rather than functioning as decoration.
The 3C solution page lists light and graphic integration, including edge lighting, NFC zones, hero graphics and brand color. Treat these as design options that require project-specific content, power, placement and service planning.
Add security without blocking the demo
Security should protect the product while preserving the intended interaction. A heavy-looking restraint can make the product feel difficult to use, while an under-planned tether can interfere with ports, controls or charging.
Depending on the product and store environment, the design may use invisible retention, an anti-theft tether, a lock, a weighted base, an anti-slip element or a controlled return mechanism. The right choice depends on product value, handling frequency, staff involvement, cable path, mounting method and service access.
Do not describe a security option as theft-proof. Confirm the attachment point, load path, replacement process, user experience and project-specific test method.
Select the appropriate display structure
Countertop units
Countertop smart displays suit launch products, compact assortments and assisted demonstrations. They keep controls and products close to staff, but depth is limited. Prioritize reach, cable service access and a clean footprint over adding more devices.
Wall-mounted structures
Wall-mounted displays can preserve floor space and create a consistent product grid. They require careful planning of mounting points, customer reach, cable paths, service panels and replenishment. The device should remain easy to return after a demo.
Floor-standing cabinets and racks
Floor-standing structures can organize a broader ecosystem of products, such as earbuds, headsets, accessories and smart devices. Review lower-row visibility, customer circulation, internal routing, lighting access and the visual weight of the cabinet.
Modular and mixed-material fixtures
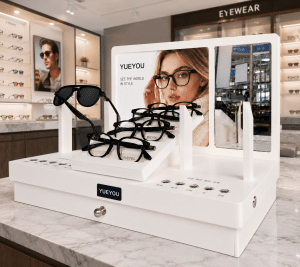
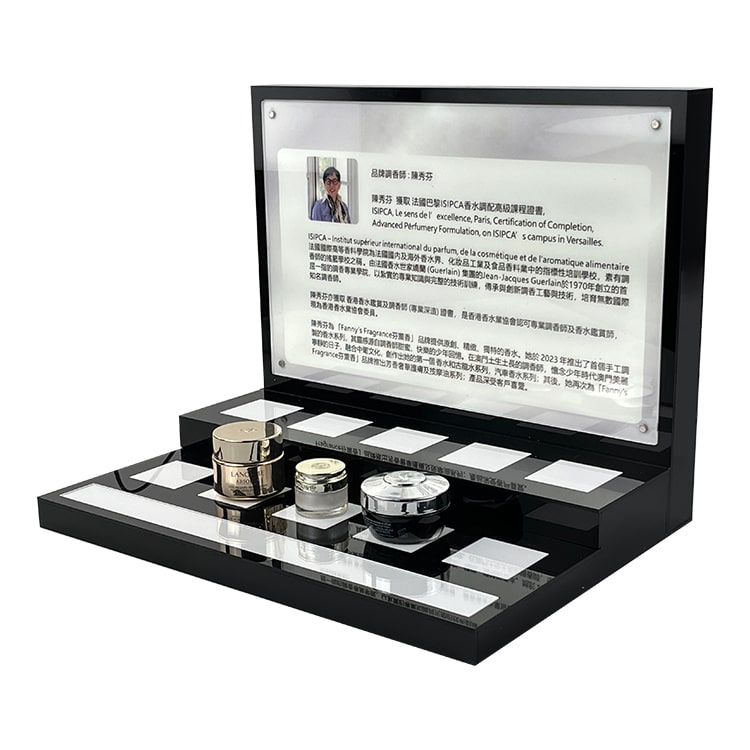
Modular structures may support changing campaigns, pilot stores or multi-location rollouts. Mixed-material construction can combine clear acrylic, aluminum, wood or MDF, silicone inserts, ABS parts and printed panels. YueYou’s 3C page lists clear acrylic, PETG, aluminum and optional wood veneer, silicone and ABS inserts as project material directions. The final material combination depends on product fit, span, finish, assembly, service and shipment.
Make service access part of the design
A smart display is a working fixture. Staff may need to replace a cable, reset a demo, clean a product contact, update a graphic or remove a device for inventory. Service access should be visible in the engineering discussion even when it is hidden in the finished display.
Document the components that can be replaced, the access panels or removable covers, the tools required, the cable slack, the reset procedure and the staff instructions. A clean appearance is valuable only when the fixture can be maintained without damaging acrylic edges, graphics or connections.
Plan retail-ready packaging and rollout
Charging modules, screens, cables, tethers and detachable panels add packaging risk. Protective inserts should separate clear acrylic surfaces from hardware, protect connectors and keep small parts with the correct unit.
For a rollout, confirm whether the display ships assembled or knock-down, how store labels are applied, whether an assembly guide is required, and how cartons are identified by location or product family. YueYou’s 3C solution page describes flat-pack thinking, protective inserts and repeatable assembly as retail-ready packaging directions. Actual packaging, carrier, destination, labels and trade terms must be confirmed for the project.
Prepare a complete smart-display RFQ
Include the following in the quotation package:
| RFQ input | Information to provide |
|---|---|
| Device details | Product dimensions, weight, ports, buttons, accessories and packaging |
| Demo objective | Visual comparison, hands-on test, audio, charging or guided explanation |
| Electronics | Power source, connector, screen, LED, audio, NFC, button or sensor needs |
| Cable plan | Exit positions, service access, slack, concealment and replacement method |
| Security | Tether, lock, retention, anti-slip, return mechanism and staff involvement |
| Structure | Countertop, wall-mounted, floor-standing, rotating, modular or mixed-material |
| Branding | Logo file, graphics, color references, labels and instruction content |
| Store context | Counter, wall, window, kiosk, shelf depth, customer path and lighting |
| Quantity | Sample quantity, expected order quantity, pilot stores and rollout timing |
| Packaging | Assembled or knock-down, protection, carton labels and installation guide |
| Approval | Visual, handling, charging, audio, security, assembly and packing checks |
The more complete the RFQ, the less likely it is that a late electronics change will force a structural redesign.
Validate the sample in the real operating sequence
Approve the sample with representative devices and the intended demo flow. Check visibility, reach, cable movement, charging contact, audio connection, control placement, security routing, reset procedure, cleaning access, replenishment and packaging.
Record the approved device list, module set, drawings, cable route, assembly sequence and acceptance criteria. Sample and production timing may vary with complexity, materials, electronics, quantity, approval rounds and packing. Confirm the project schedule rather than relying on a generic lead-time statement.
Final takeaway
The strongest smart 3C display stands connect product fit, demo flow, charging, audio, lighting, graphics, security, service and packaging in one design review. The display should make the product easy to understand and use while keeping the underlying power and protection logic manageable for store staff.
If you are preparing a smart electronics display project, contact YueYou with device dimensions, power requirements, demo objectives, security needs, expected quantity and rollout context. YueYou’s Custom 3C Display Solutions page can serve as the commercial starting point after its H1 is aligned with the 3C page content.